How to Install vTiger CRM on Ubuntu: Step-by-Step Guide with Apache Support
The vTiger CRM system, built on PHP, is designed to help businesses and entrepreneurs streamline collaboration and automate seamless customer interactions across every stage of the journey.
Step-by-step guide on how to install it on Ubuntu Linux with Apache server support.
Install Apache2
vTiger CRM requires a web server, and Apache2 is one of the most widely used web servers today. To get started, install Apache on your Ubuntu system by running the commands below:
sudo apt update
sudo apt install apache2
Use the following commands to stop, start, and configure the Apache2 service to automatically start when the server boots up.
sudo systemctl stop apache2.service
sudo systemctl start apache2.service
sudo systemctl enable apache2.service
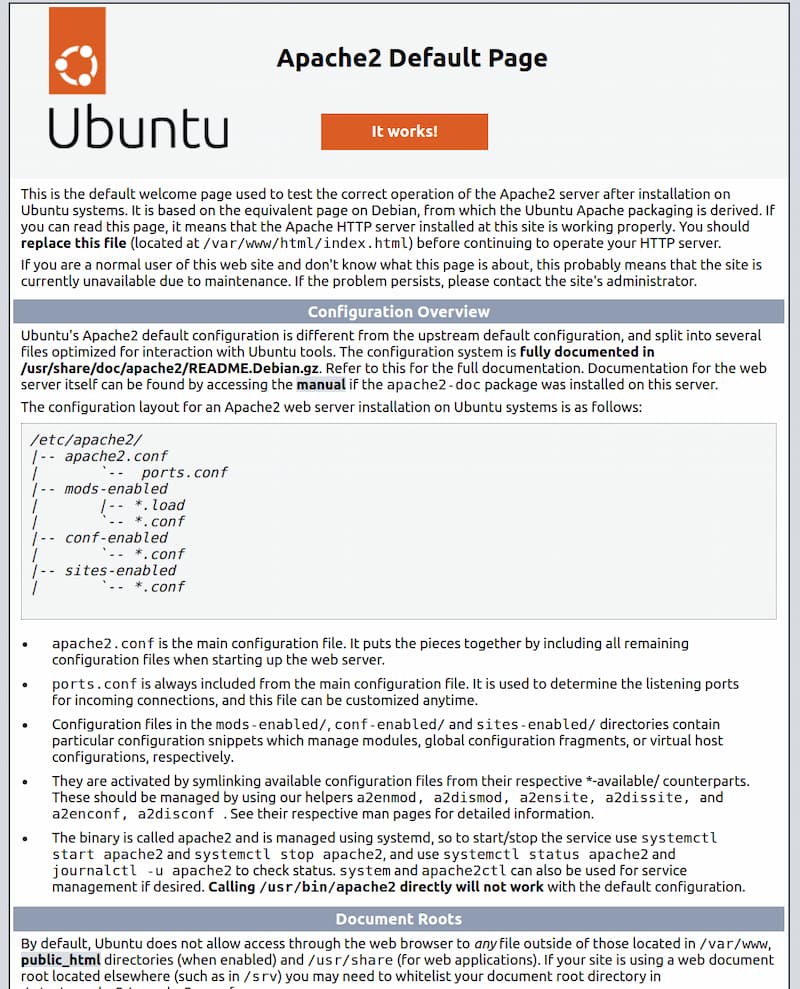
You can quickly verify that everything went as planned by performing a spot check—simply visit your server’s public IP address in your web browser.
http://your_server_ip
The default Apache web page on Ubuntu 22.04 serves as a tool for informational and testing purposes. Below is an example of this default page:
Install MySQL
To effectively store and manage data for your site, it’s essential to install a database system. MySQL, a widely-used database management system, is commonly integrated with PHP environments for seamless data handling.
vTiger also requires a database server, and MySQL is an excellent choice as an open-source database solution to get started with.
To get started with the installation, simply run the following commands:
sudo apt install mysql-server
confirm installation by typing Y, and then ENTER.
Once the installation is complete, make sure to run the security script that comes pre-installed with MySQL.
Start by launching the MySQL prompt:
sudo mysql
Then run the following
ALTER USER command to change the root user’s authentication method to one that uses a password. The following example changes the authentication method to mysql_native_password:
ALTER USER ‘root’@’localhost’ IDENTIFIED WITH mysql_native_password BY ‘password’;
Once you’ve made this change, exit the MySQL prompt by typing:
mysql> exit
Begin the interactive script by executing the following command:
sudo mysql_secure_installation
This will ask if you want to configure the VALIDATE PASSWORD PLUGIN.
Answer Y for yes, or anything else to continue without enabling.
VALIDATE PASSWORD PLUGIN can be used to test passwords
and improve security. It checks the strength of password
and allows the users to set only those passwords which are
secure enough. Would you like to setupVALIDATE PASSWORDplugin?Press y|Y for Yes, any other key for No:
If you answer “yes”, you’ll be asked to select a level of password validation. Keep in mind that if you enter 2 for the strongest level, you will receive errors when attempting to set any password which does not contain numbers, upper and lowercase letters, and special characters:
There are three levels of password validation policy:
LOW Length >= 8
MEDIUM Length >= 8, numeric, mixed case, and special characters
STRONG Length >= 8, numeric, mixed case, special characters and dictionary file
Please enter 0 = LOW, 1 = MEDIUM and 2 = STRONG: 1
Regardless of whether you chose to set up the VALIDATE PASSWORD PLUGIN , your server will next ask you to select and confirm a password for the MySQL root user. This is not to be confused with the system root. The database root user is an administrative user with full privileges over the database system. Even though the default authentication method for the MySQL root user doesn’t involve using a password, even when one is set, you should define a strong password here as an additional safety measure.
If you enabled password validation, you’ll be shown the password strength for the root password you just entered and your server will ask if you want to continue with that password. If you are happy with your current password, enter Y for “yes” at the prompt:
Estimated strength of the password: 100
Do you wish to continue with the password provided?(Press y|Y for Yes, any other key for No) : y
For the rest of the questions, press Y and hit the ENTER key at each prompt. This will remove some anonymous users and the test database, disable remote root logins, and load these new rules so that MySQL immediately respects the changes you have made.
When you’re finished, test whether you’re able to log in to the MySQL console by typing:
sudo mysql
This will connect to the MySQL server as the administrative database user root, which is inferred by the use of sudo when running this command. Below is an example output:
Output :
Welcome to the MySQL monitor. Commands end with ; or \g.
Your MySQL connection id is 10
Server version: 8.0.28-0ubuntu4 (Ubuntu)Copyright (c) 2000, 2022, Oracle and/or its affiliates.
Oracle is a registered trademark of Oracle Corporation and/or its affiliates. Other names may be trademarks of their respective owners.
Type ‘help;’ or ‘\h’ for help. Type ‘\c’ to clear the current input statement.
mysql>
exit the MySQL
mysql> exit
Install PHP
PHP is a key component of our setup, responsible for processing code and delivering dynamic content to the end user.
For the PHP package, you’ll need the php-mysql module, which enables PHP to interact with MySQL-based databases.
sudo apt install php libapache2-mod-php php-mysql
After completing the installation, execute the following command to verify your PHP version:
php -v
PHP 8.1.2 (cli) (built: Mar 4 2022 18:13:46) (NTS) Copyright (c) The PHP Group Zend Engine v4.1.2, Copyright (c) Zend Technologies with Zend OPcache v8.1.2, Copyright (c), by Zend Technologies
Then update and upgrade to PHP 7.*
sudo apt update
Install PHP 7.* / 8.* and additional packages.
Check PHP version and replace with * sign.
sudo apt-get install php7.*-cli php7.*-common php7.*-json php7.*-opcache php7.*-mysql php7.*-xmlrpc php7.*-mbstring php7.*-gd php7.*-zip php7.*-fpm php7.*-intl php7.*-simplexml php7.*-mcrypt php7.*-soap php7.*-curl
Execute the following commands to access the default Apache2 PHP file.
sudo nano /etc/php/7.1/apache2/php.ini
Then change to the following lines below in the file and save.
file_uploads = On
allow_url_fopen = On
memory_limit = 256M
upload_max_filesize = 64M
max_execution_time = 30
display_errors = Off
max_input_vars = 1500
date.timezone = America/Chicago
Easy Guide to Installing vTiger CRM: Get Started Today
How to Create and Set Up a vTiger Database for Optimal Performance
Log in to the MySQL shell, and when prompted for a password, simply press ENTER to continue.
sudo mysql -u root -p
Create a new MySQL database called 'vtiger'.
CREATE DATABASE vtiger;
Create a new database user named 'vtiger' and set a secure password for it.
CREATE USER ‘vtiger’@’localhost’ IDENTIFIED BY ‘StrongPassword’;
Provide the user with complete access to the database.
GRANT ALL ON vtiger.* TO ‘vtiger’@’localhost’ WITH GRANT OPTION;
Don’t forget to save your changes!
FLUSH PRIVILEGES;
Step outside the shell.
EXIT;
Unzip the archive to access its contents.
sudo tar xvf vtigercrm7.*.0.tar.gz
Set Up the Installation Directory
/var/www/html/.
sudo mkdir /var/www/html/
Transfer ownership of the installation directory.
sudo chown -R www-data:www-data /var/www/html/
Modify the access permissions for the directory.
sudo chmod -R 755 /var/www/html/
Configure Apache2
How to Create an Apache Virtual Host File for Vtiger
sudo nano /etc/apache2/sites-available/vtigercrm.conf
Copy and paste the following code into the file, then save and close it.
<VirtualHost *:80>
ServerAdmin webmaster@example.com
ServerName example.com
ServerAlias www.example.com
DocumentRoot /var/www/html/
Options +FollowSymlinks
AllowOverride All
Require all granted
ErrorLog /var/log/apache2/vtigercrm_error.log
CustomLog /var/log/apache2/vtigercrm_access.log combined
</VirtualHost>
Check and validate the file syntax for accuracy.
sudo apachectl -t
Navigate to the Apache configuration directory.
cd /etc/apache2/sites-available/
Disable the default Apache configuration file for enhanced security and customization.
sudo a2dissite 000-default.conf
Activate the Apache Configuration File for Vtiger CRM.
sudo a2ensite vtigercrm.conf
Activate Apache’s rewrite mode for enhanced URL management.
sudo a2enmod rewrite
Restart the Apache service to apply configuration changes or resolve issues.
sudo systemctl restart apache2
Discover the powerful and intuitive Vtiger CRM web interface, designed to streamline your customer relationship management experience with ease and efficiency.
To access the Vtiger CRM web interface, simply open your browser and navigate to: http://Server_IP/. For example:
http://192.168.1.31/
Next, simply follow the on-screen instructions to complete the successful installation of vTiger.
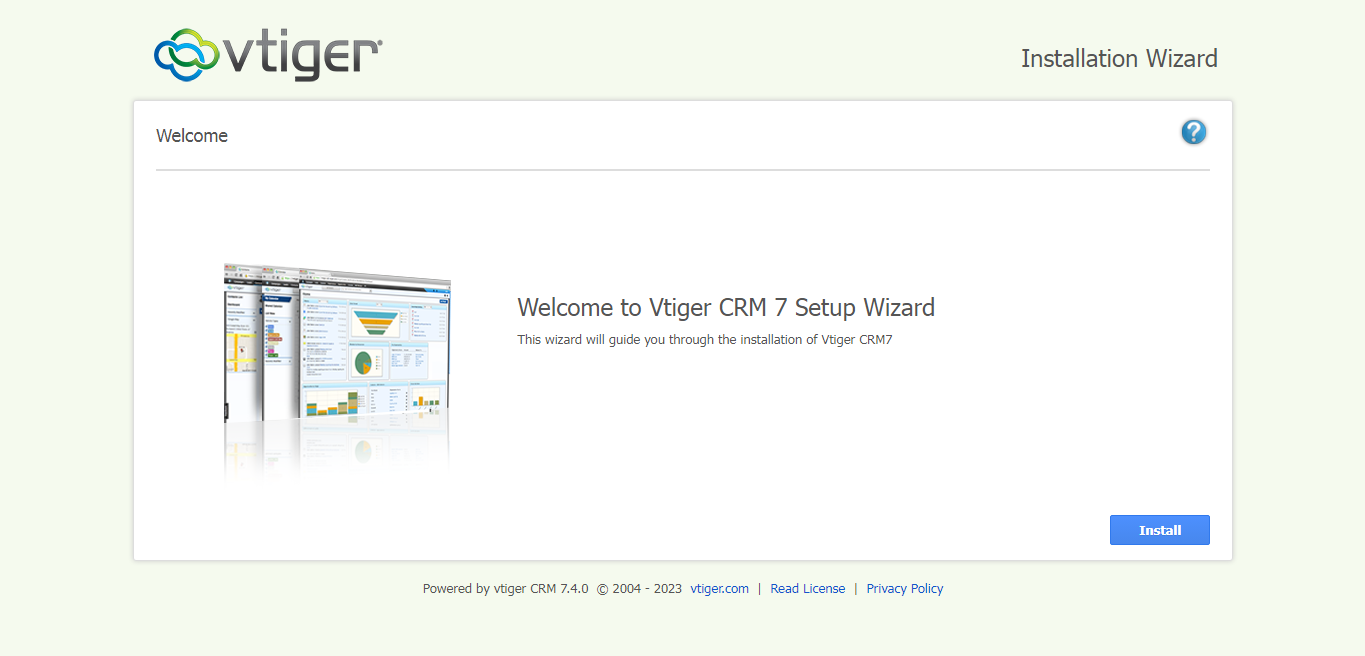
Visit the welcome page, review the vTiger public license, and click to proceed I Agree button.

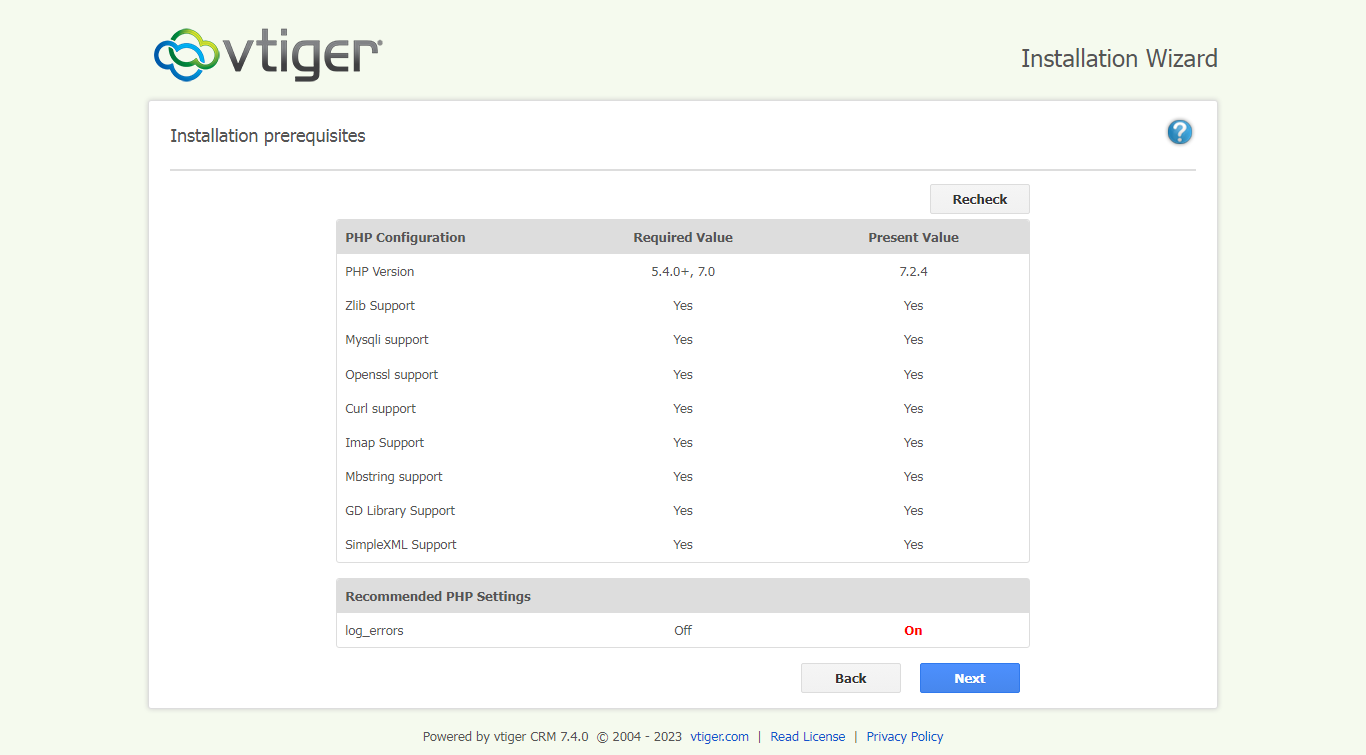
Review the installation prerequisites, verify the PHP configuration and recommended settings, then click ‘Next’ to proceed.
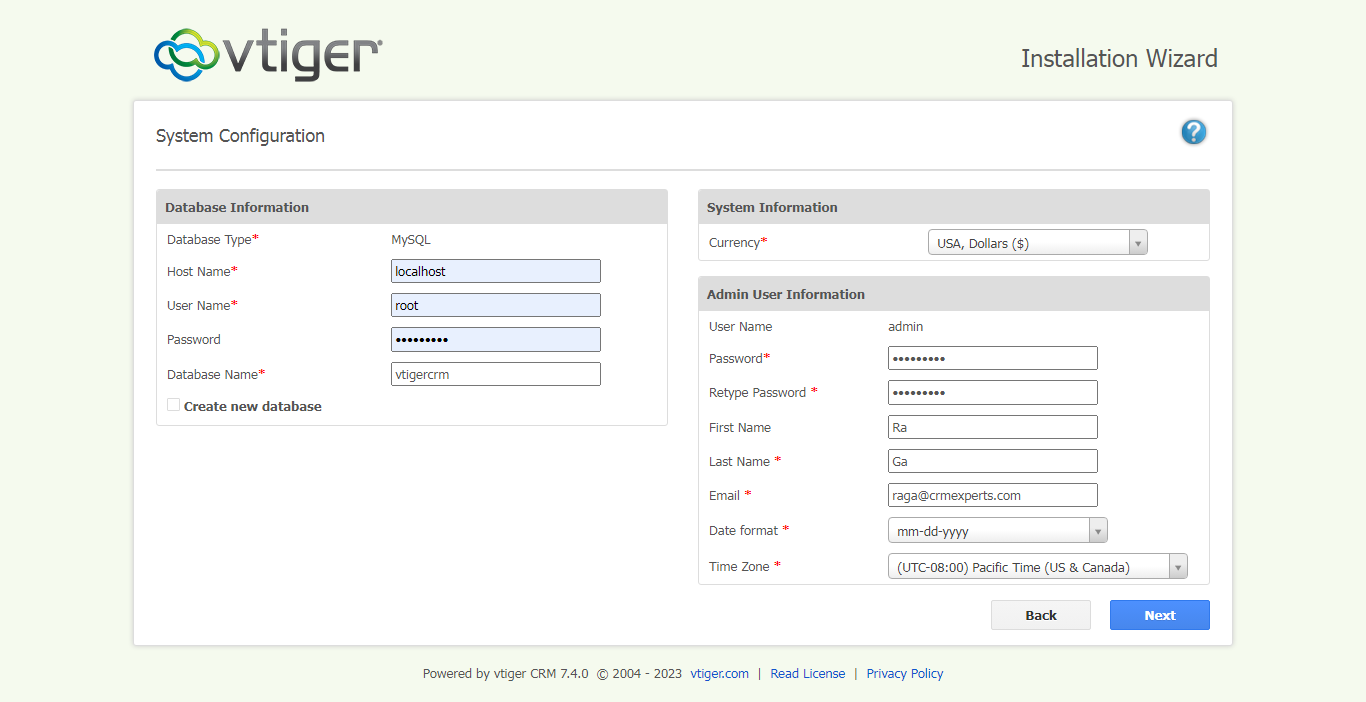
System Configuration: Please fill in all the required information as outlined below.
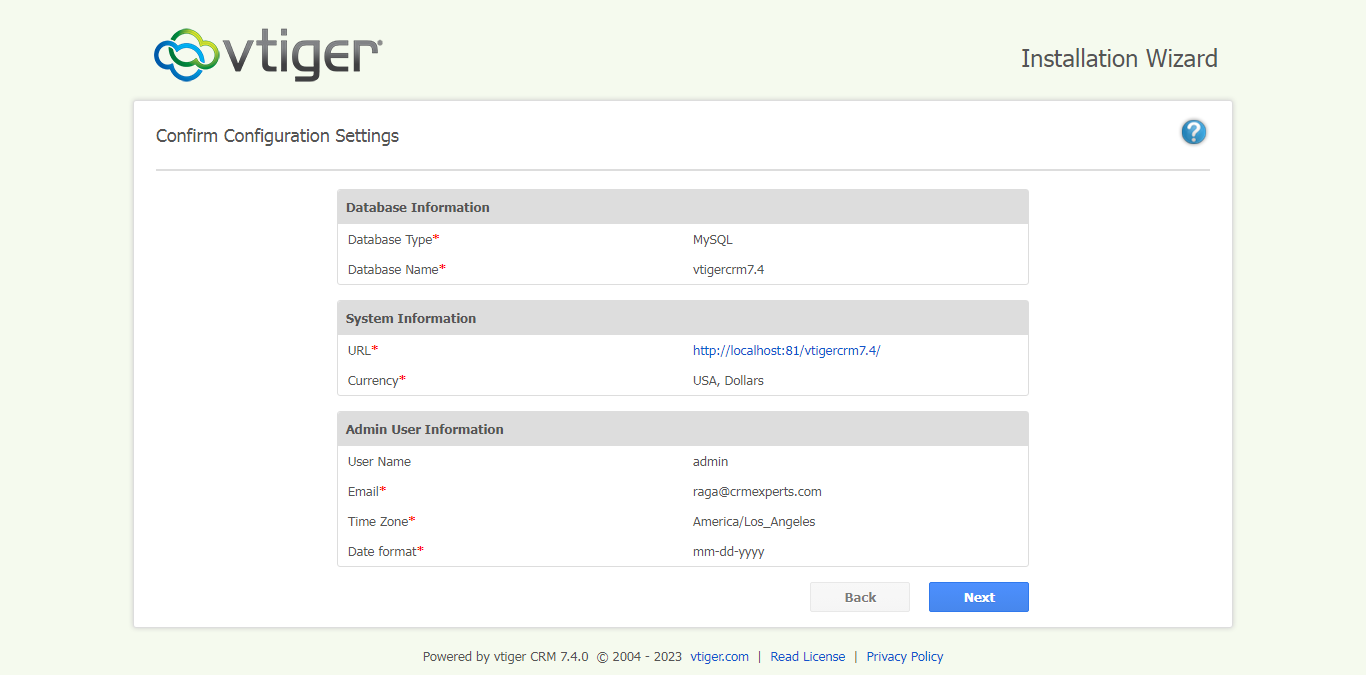
Please verify the configuration settings outlined below.
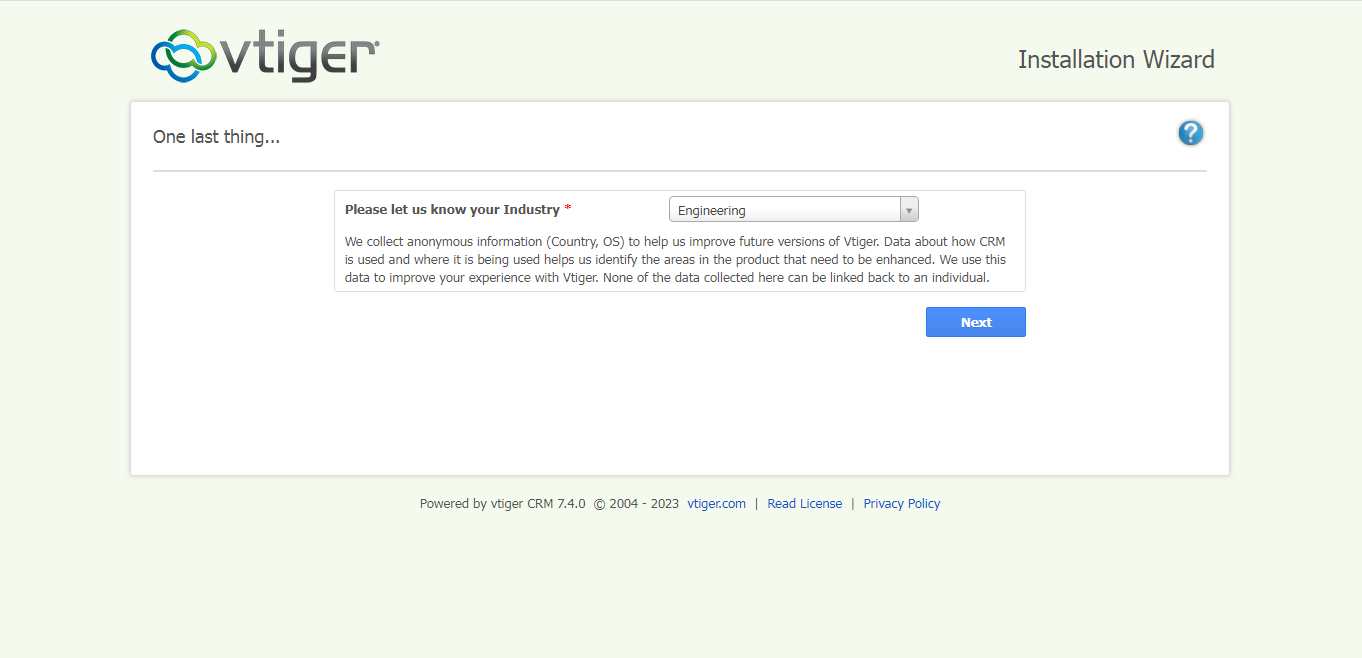
Please select your industry from the options below.
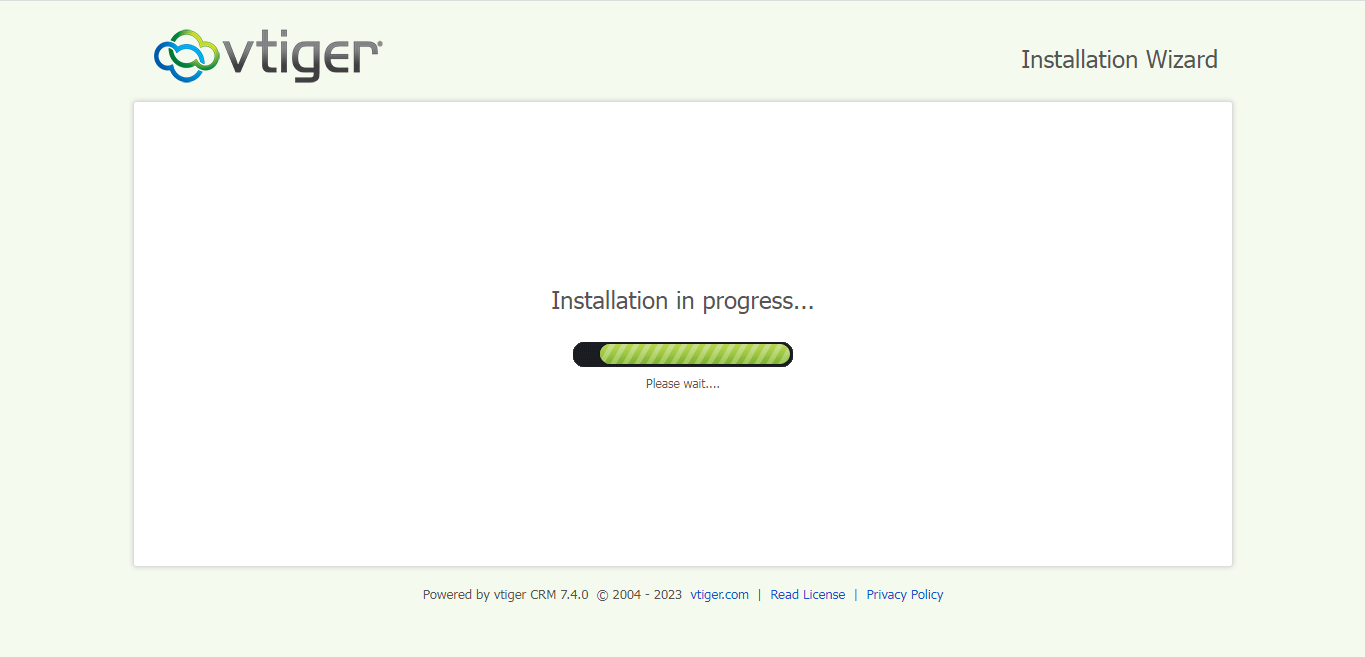
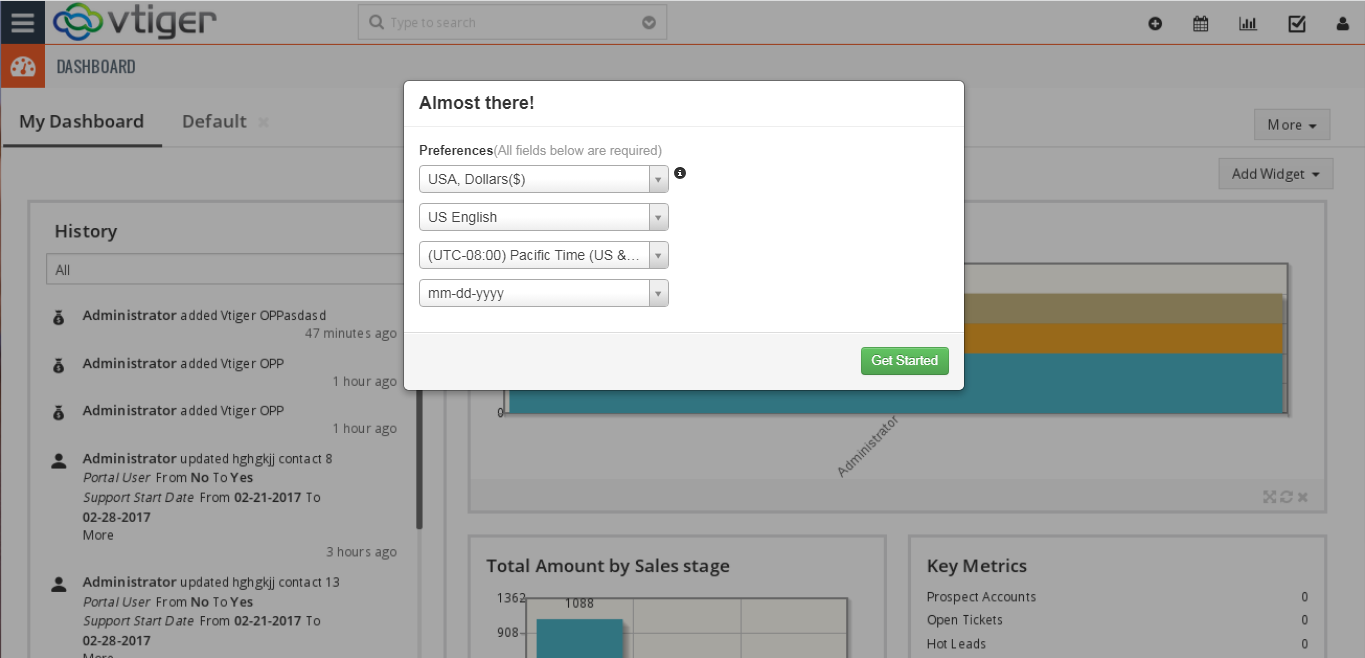
Installation in Progress – Your Experience is Almost Ready!
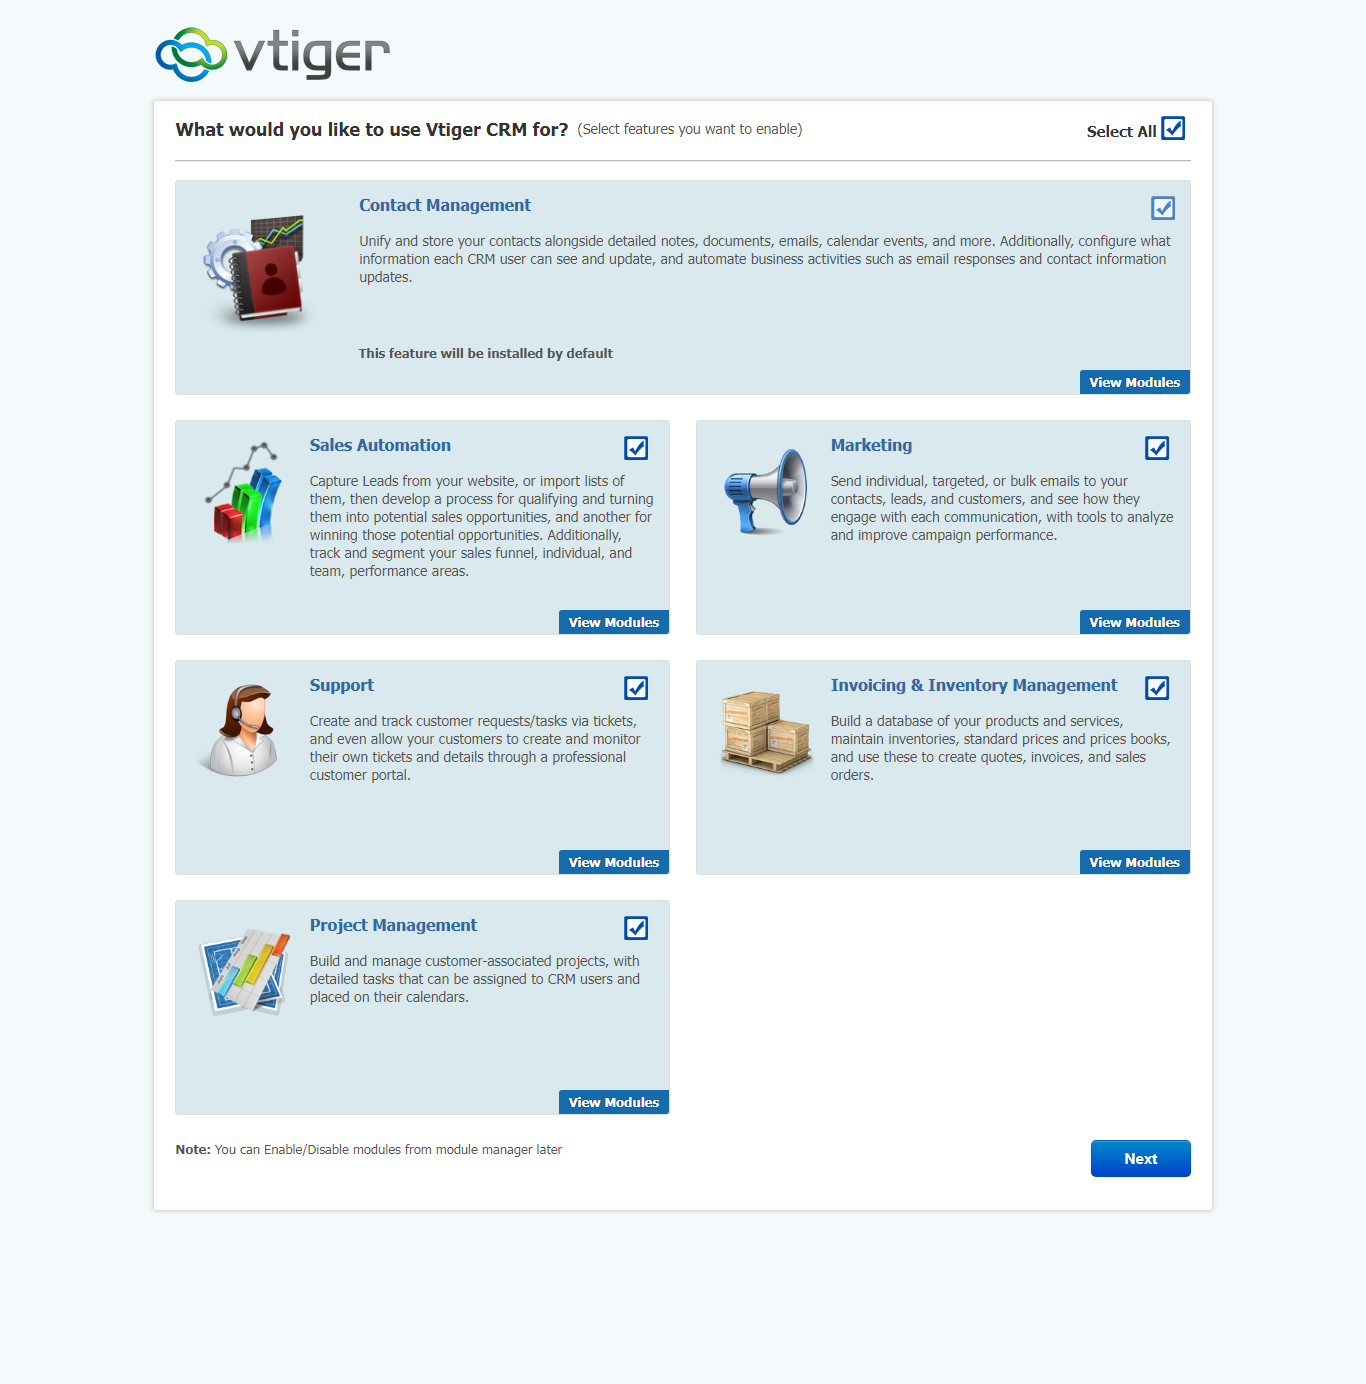
What specific tasks or goals would you like to achieve using Vtiger CRM?
Successfully Completed the vTiger CRM Setup for Seamless Business Management

After a brief time, the installation should be complete, and the platform should be ready to be used.
Dive in and enjoy every moment!